
Introduction to Creating Part 2
- Dec 21, 2017
- 4 min read
In Part 1 of this tutorial I took you through the process of finding a mesh, deriving, the IMVU client and uploading. In this tutorial I will take you through some of the basic tools that you will use on GIMP.
Let's start with the File button. Here you can create and open your files, you can also open another image in your current file by clicking on Open as Layers. To save your texture as a file IMVU can read you would click Export As and then export it as a JPG, PNG or GIF. You will also be using the Save As and Save buttons, those are self explanatory.

Next along is the Edit button. You will find you use the undo and redo button a lot, become familiar with the keyboard short cuts, they save a lot of time. Cut, Copy and Paste, those also pretty self explanatory and you will use those quite a bit, so remember those keyboard short cuts.

The Select button is next. This section controls any area you select. Select All, will add a selection to the size of your canvas. Invert will turn the selection around. For example if you only want a small area selected in your image and want to delete around the outside you would invert your selection to remove everything outside of your original selected area. Shrink and grow will change the size of you selection, you change the amount in the pop up by changing the pixel amount.
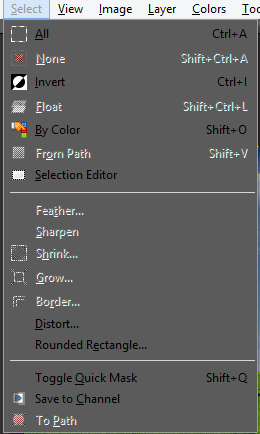
The border option allows you select and create a border around your image. You can cut, copy or fill the selection.

The View button is pretty self explanatory. Here you can change your view, either zoom in or out, add a grid or guides.
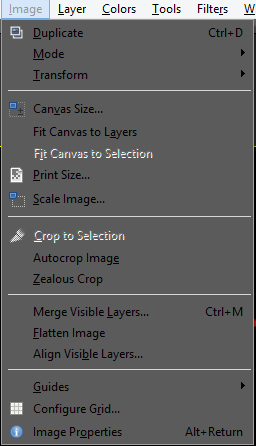
In the Image menu, anything you do here will effect your entire canvas, whether you rotate, flip, crop or scale.
The Layer menu will effect the layer selected in your Layer Tool bar, we'll cover that in a moment. Here you can crop, rotate, flip, scale a single layer. By click New from Visible, this will create a new layer of everything visible in your canvas, kind of like a screenshot.

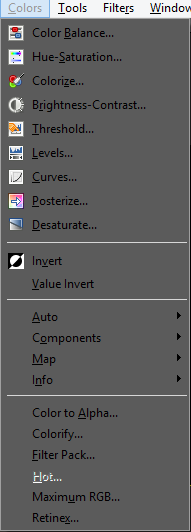
The Colors menu you will use a lot of. Here you can adjust the hue, saturation, brightness, contrast etc. To give you a few examples of what these are I'll show them in the images below.
First is a hue change, using the slide you can alter the color hue.

Brightness and contrast allows to lighten the image and intensify the contrast of the colors.

Threshold reduces the images two colors.

I use Desaturate a lot, this removes the color and turns it into a grey scale layer.

Invert changes the colors to their opposites, for example black to white.

Colorify is another one in this menu you will use. This changed the selected area or layer to a color you select.

We will skip the tools button as these are displayed in your Toolbox. We'll move on to the Filters Menu. This is where the magic happens! I would recommend spending some to explore this menu and to see what different filters to do your image. You'll be surprised with some of the things you end up making. Here are a few that I use frequently.
Gaussian Blur, this allows you to blur a layer and change the radius of the blur.

Motion Blur is helpful when creating Hair and fabrics. This allows you blur an image at an angle of your choosing, such as 0°, 90°, 180° etc.

Under Enhance, I tend to use sharpen the most. As the name suggests you can adjust the sharpness of you image here.

Under Distorts you will use quite a few of these as time goes on. Emboss is a common one to use. You'll use this when you're creating buttons, zippers, metal surfaces ,etc. You can leave it as is:

Or you can change the layer mode to soft light and end up with an interesting texture.
IWarp is fun, this allows you to manipulate and warp the image.

Down to Noise. You will use Noise a lot, when creating clothing textures noise should be added as a solid color does not look very good in the client. Noise breaks up the solid colors, applying a motion blur to noise is a great way to make fabrics. I normally use RBG Noise and deselecte Independent RBG, this changes the noise to black and white

You should explore the artistic menu, you can create all sorts of textures here just by combining different things. Moving onto Decor, the main thing you'll use here is the Bevel option, this will give your image a raised rounded edge, great for buttons! I use this feature a lot with buttons, zips, writing etc.
On top the Map section, here you most likely use Bump Map and Tile. Bump map creates an embossing on your layer using the image of another layer. For example, the image I have a star hidden in my layers. By opening the Bump Map screen I can select the star to be embossed on to the image.

Tile creates a tiled image of your selected layer.

Finally the Render section. These are great for creating shadows, velvet, suede, hair etc. Often you will set this in the Layer Mode to soft light.

We will move to a new tutorial to go through the tool box and the Layers-Gradients Box
Comments